
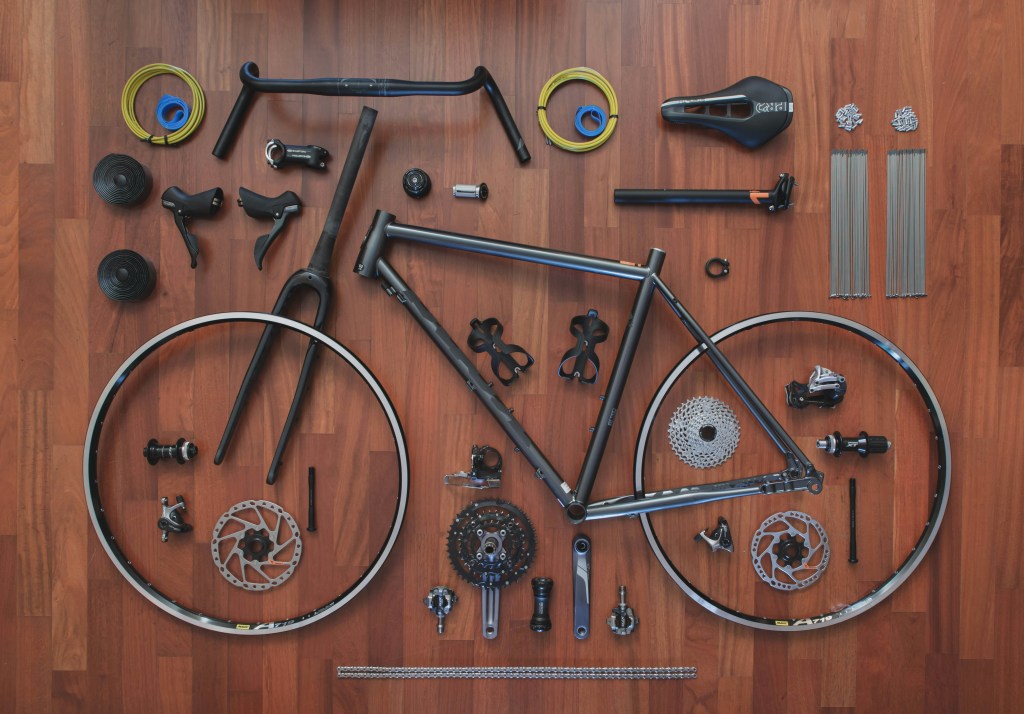
Bikes comprise many parts and pieces that wear down and go out of tune under duress from steady riding. Before you head out on a ride, it’s always a good measure to check over your bike to make sure your components are performing the way they should.
In all actuality, this is a long list. Yes, of course, you can quickly give your bike the once over before you head out. However, in some cases, it’s better to pop your bike in the workstand, then the day you ride, you can rest assured that all is well.
In a recent issue of Bicycling Magazine, Park Tool published a list of items to check before you ride. In this post, I’ll review those and add a few embellishments of my own.
A Visual List of Items to Check On Your Bike
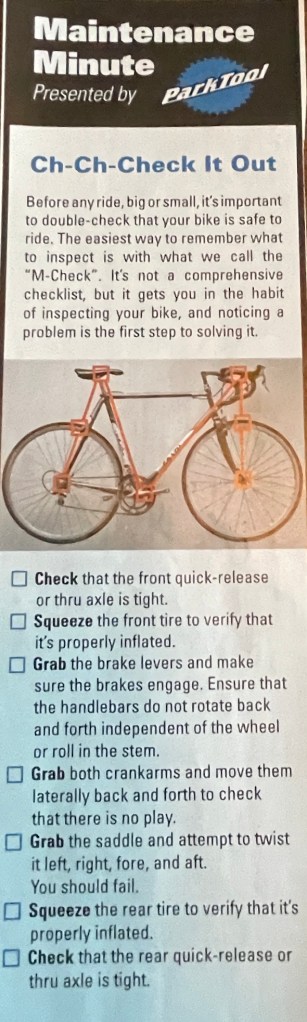
Park Tool’s Visual Checklist
If you’ve been a cyclist for any amount of time, then you know that you should check tire pressure and the state of lubrication for your chain. However, there are a few other things that warrant looking over before you head out the door.
Check Front/ Back Quick Releases Are Tight
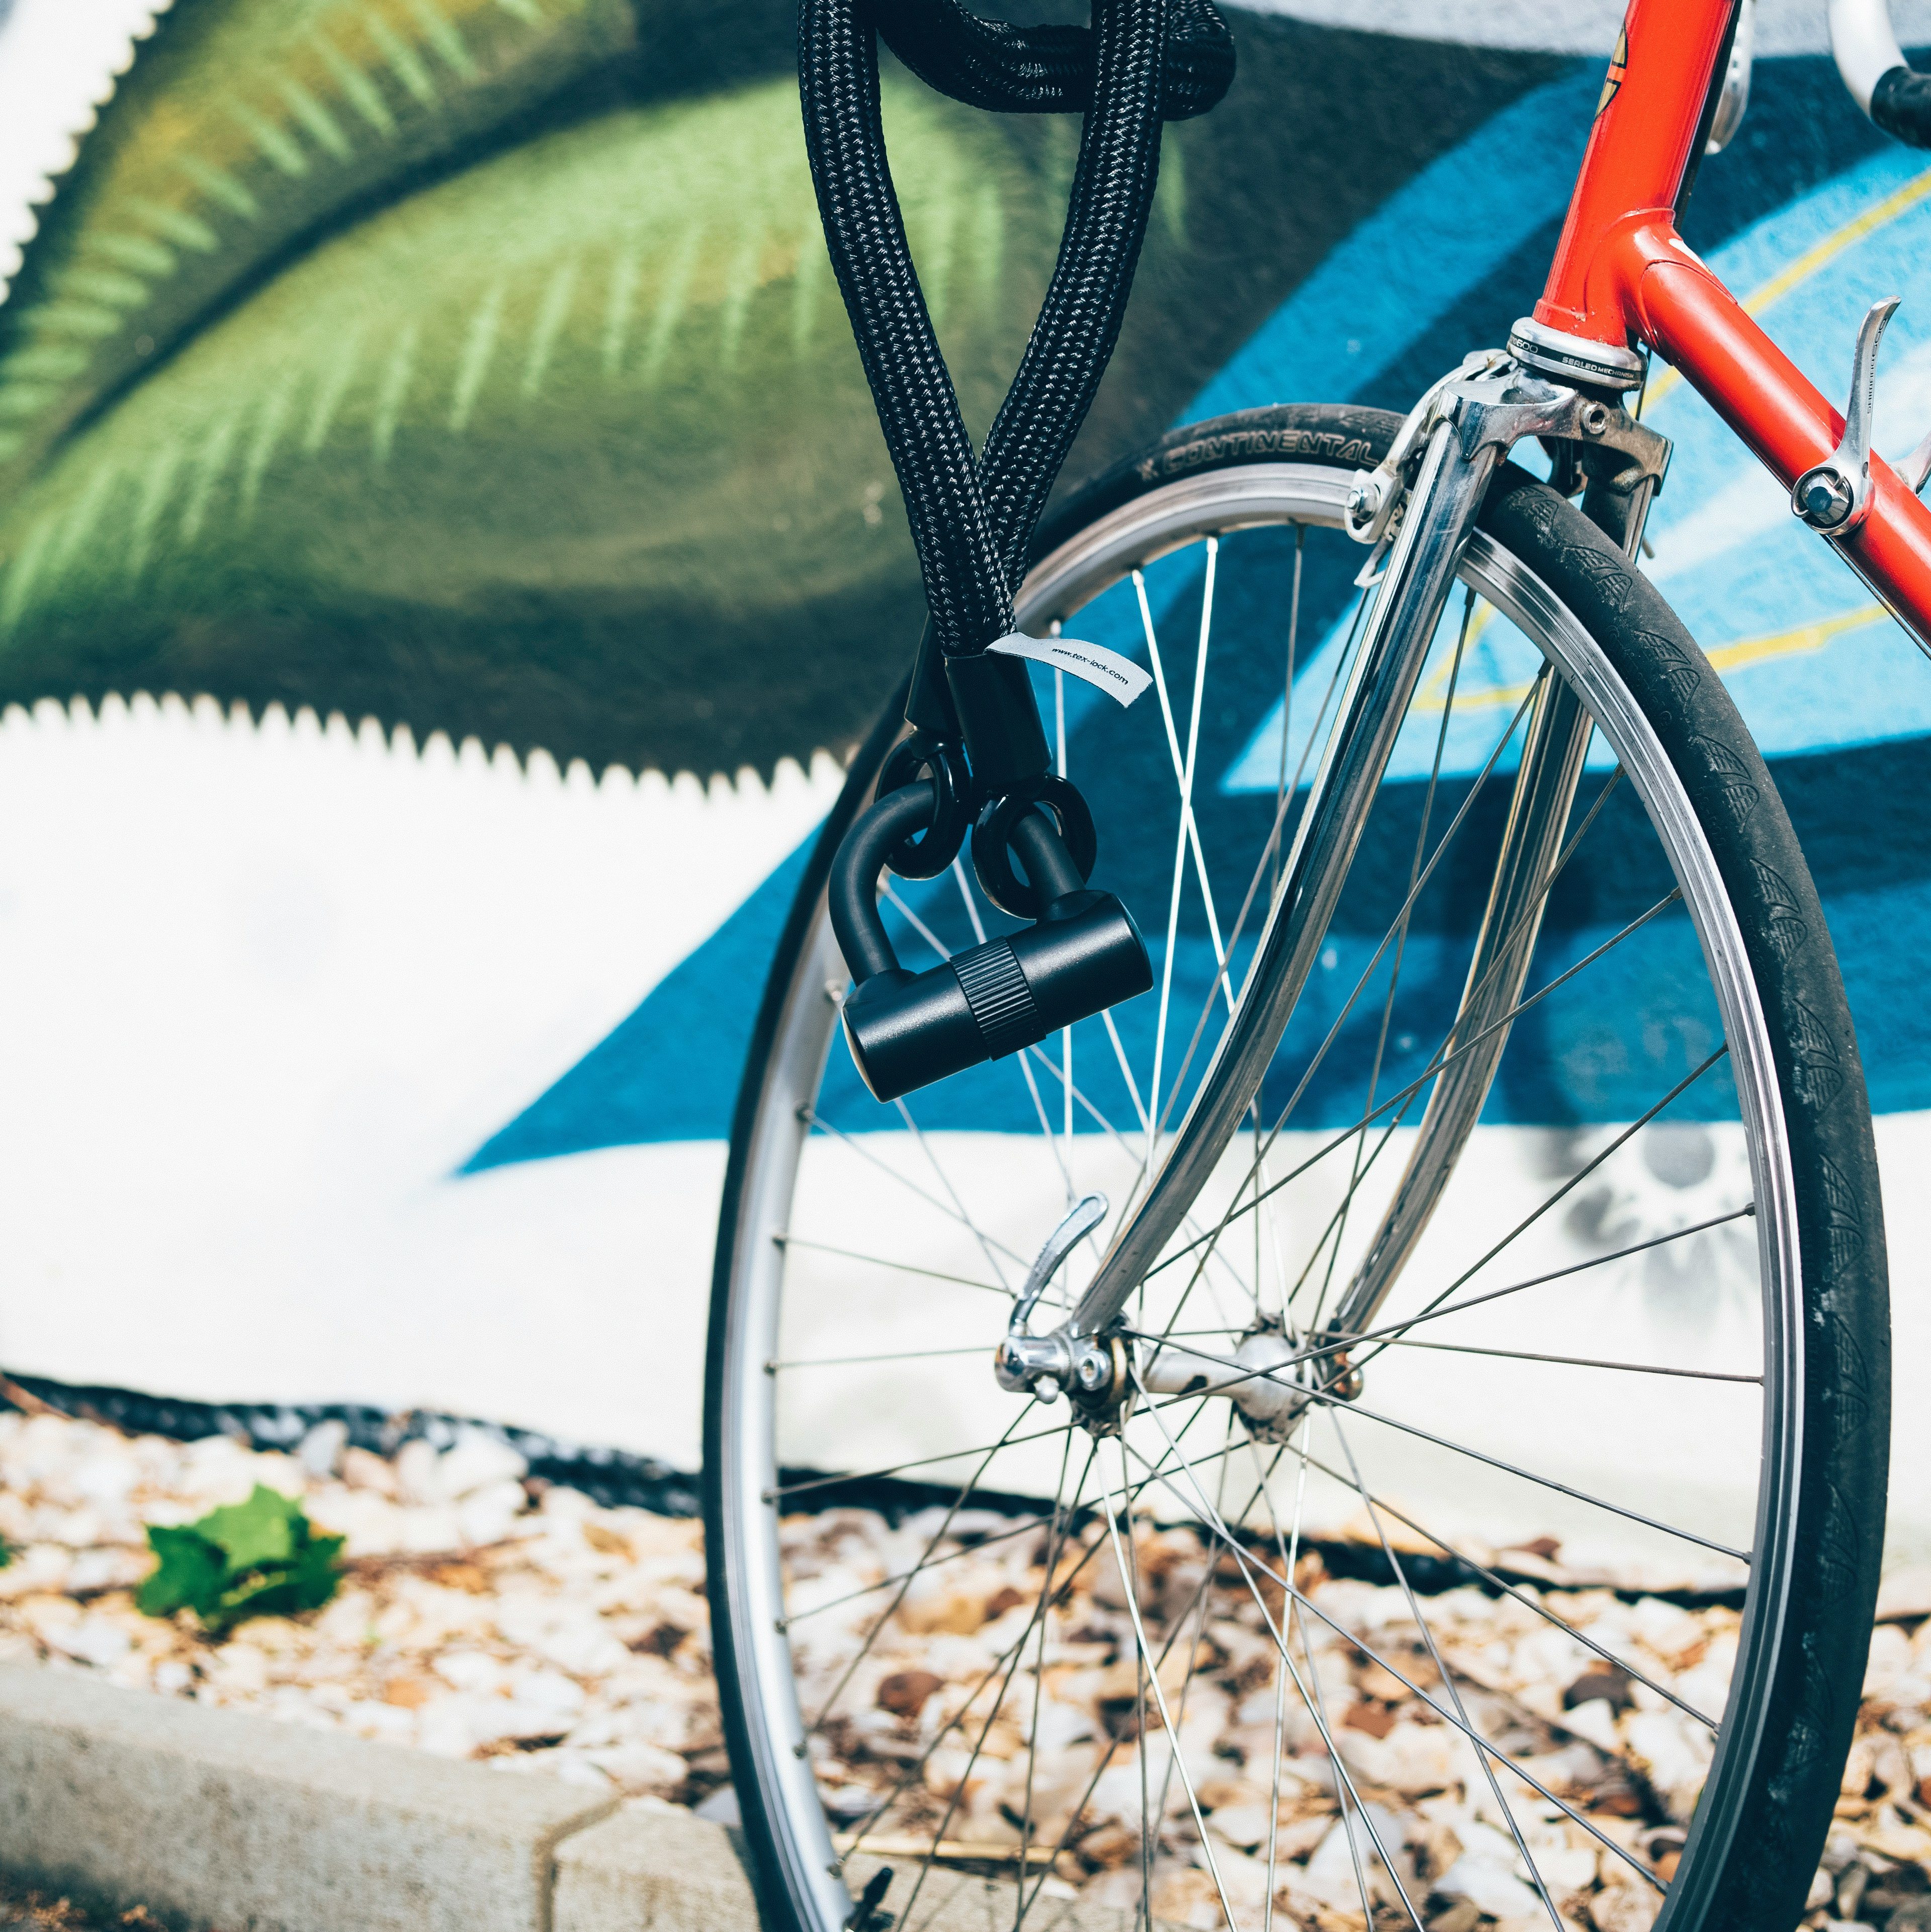
If you’ve recently had one or both wheels off your bike or perhaps you’ve noticed some wobble in your front or back wheels or you’re having some brake rub, loosen your quick-release skewers and make your adjustments.
Your quick releases should be tight but not so tight that you need to be Hercules to open them. If you remove your wheels, make sure you have all the parts that go with your quick-release skewers, especially the small springs.
How often to check quick-release skewers: Unless you are having a problem, I’d say this check doesn’t need to be done before every ride. If your wheels are rolling straight, you have no brake rub, and you have zero play, you won’t have to worry about your quick-releases much.
Check The Integrity of Your Wheels

Once you have the quick release open, reseat your wheel so it is firmly in the dropouts of your fork (see above picture), then close the quick release. If you are going to remove your wheels for inspection, it may be easier to place your bike in a workstand.
With your wheel off the bike, squeeze the spokes (not hard) to see if they are loose or flexing easily. Hint: They should be tight with zero flex. Check your other wheel in the same fashion. With the back wheel, it is a good idea to check your cassette for looseness or misalignment if you are having shifting issues.
How often to check your wheels: I would check your skewers and wheels every other ride. If you hit a depression in the road or some other bad area, especially something like a pothole, this can damage the “true” in a wheel and possibly even break a spoke.
Check Your Tire Inflation

Squeezing your tires is a way to tell if they may need some air. When you squeeze the tires, if you feel any give, then you’ll need some air. If you only ride a couple days a week, your tires may need to be “topped off,” but you only need to do that if the tires feel low. The one thing you want to avoid, though, is overinflation.
If you want to be absolutely sure about your inflation, use an inflation gauge. This could be the gauge on your bike pump or a stand-alone gauge for checking tire pressure. This gauge will be much like the one used for checking the tire pressure on your car, but it will be made to fit a Presta valve (road tire/ tube). The gauge will also help you to avoid overinflation.
How often to check your tire pressure: It goes without saying that you should check your inflation before you ride. Ideally, do it the night before so you don’t have to rush around to “top off” your tires with air right before you head out the door.
Maybe you’ll need to air or maybe you won’t. That depends if you like to have rolling resistance or not. The best recommendation is to adhere to the pressure listed on the sidewall of the tire to ride optimally.
Grab Your Brake Levers
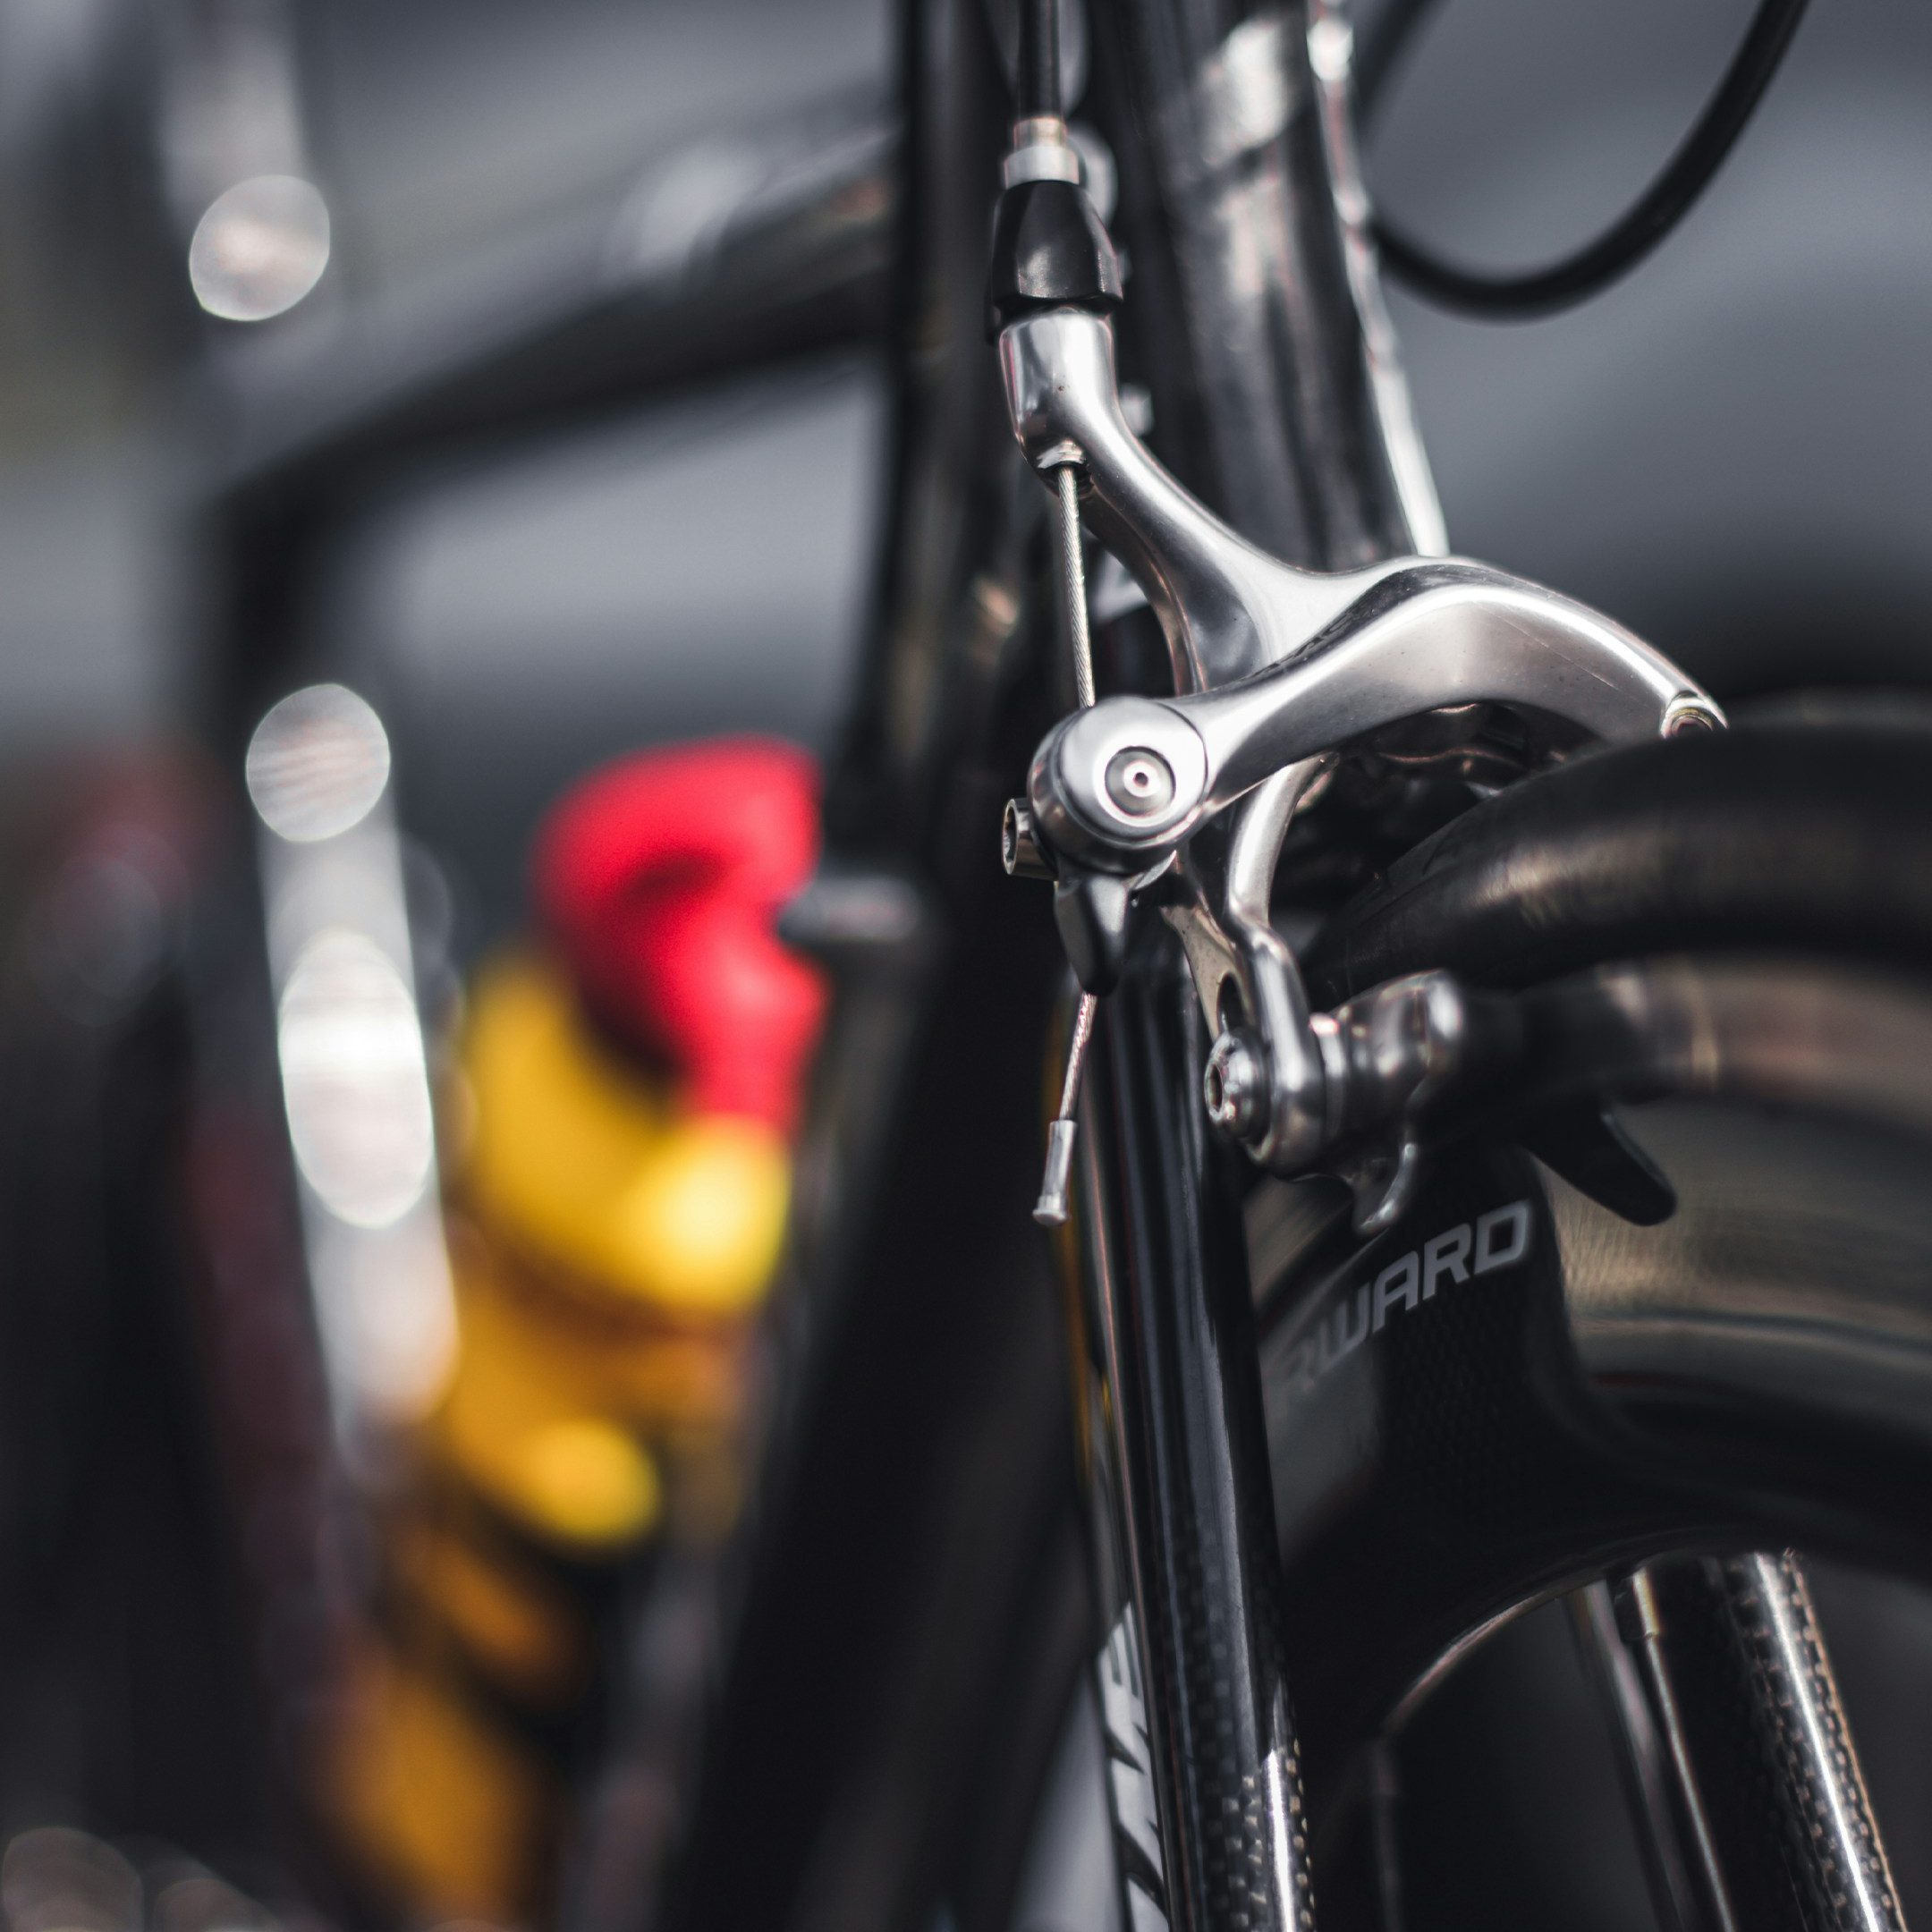
It’s crazy and unsafe not to check your braking before going out for a ride. If you ride where it’s mostly flat, it’s okay if your brakes are off a little bit. But being “off” is not a preferred state to be in. Brakes can go out of tune frequently.
In the case of a pre-ride check, just squeeze your brakes to make sure they will stop your wheels from rotating. Hold the brakes firmly, then try to move the bike forward. If you notice a wheel moving or you have to squeeze extra firmly to stop a wheel moving, then I would put the bike in a workstand.
Squeeze the brakes again. Are the pads hitting the rim of the wheel? If they are but you have to squeeze so hard that the lever is touching your bar, you will need to readjust your braking by loosening the bolt at the cable, pulling the cable tighter, then resetting the bolt.
How often to check your brakes/ braking: Before every ride, especially if you believe there is a problem. Putting your bike in a workstand makes dealing with braking issues easier to troubleshoot.
Check for Loose Handlebars or Stem
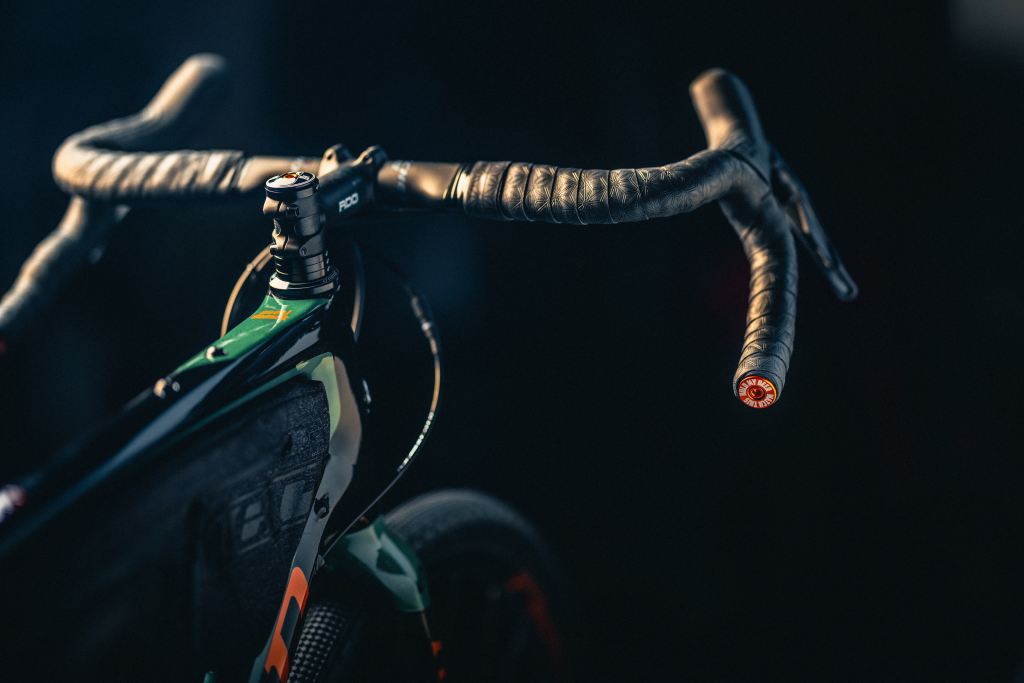
The handlebars and stem are two of the most important parts on your bike. If they are loose in any sense, do not ride your bike until they’ve been adjusted properly.
Easy check here to make. Stand with your front wheel between your legs, then try to move your handlebars to the left or right, then up and down. No movement is what you are shooting for here.
How often to check your handlebar/ stem: Check before every ride or every other ride. If you hit a pothole on a ride, make sure to see if your handlebar has moved or loosened.
Check Crankarms for Looseness
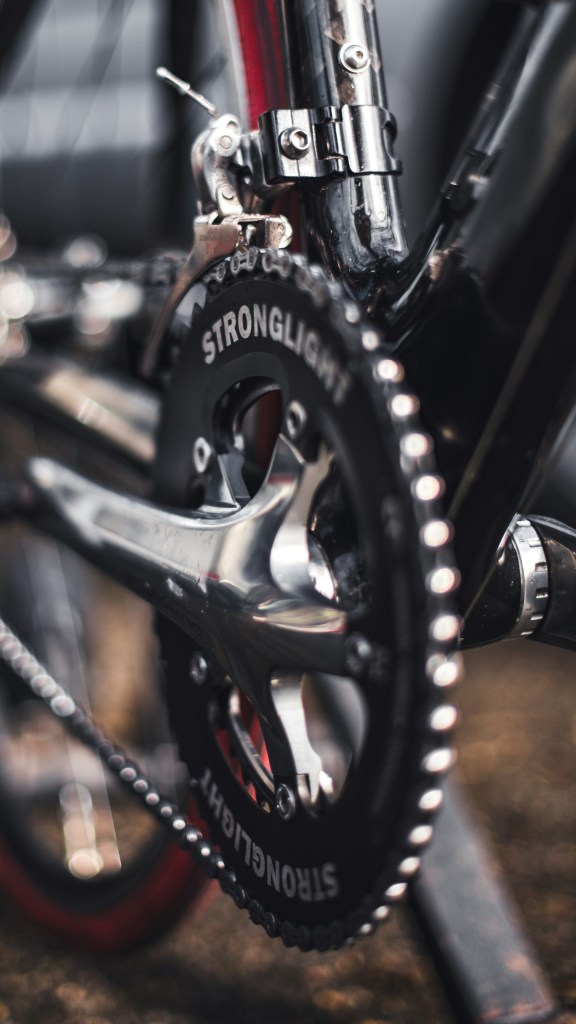
If your crankarms were installed correctly with the right amount of torque in the bolts, chances are your cranks won’t need too much attention. To check them, grab the left and right crankarms and move them left and right. Do you feel play or looseness?
If so, again you should insert your bike into the workstand. Your crank bolt may be loose or not set at the right torque. Once adjusted appropriately, you shouldn’t have to do it again for a while.
How often to check your crankarms/ crank bolt: Unless you believe there is a problem, I’d say check these two areas every once in a while. Visually inspect your crank for changes that may have occurred on your last ride. Fix those changes before going on your next ride, don’t ride with a loose crank or a potential loose crank bolt.
Make Sure Your Saddle is Static
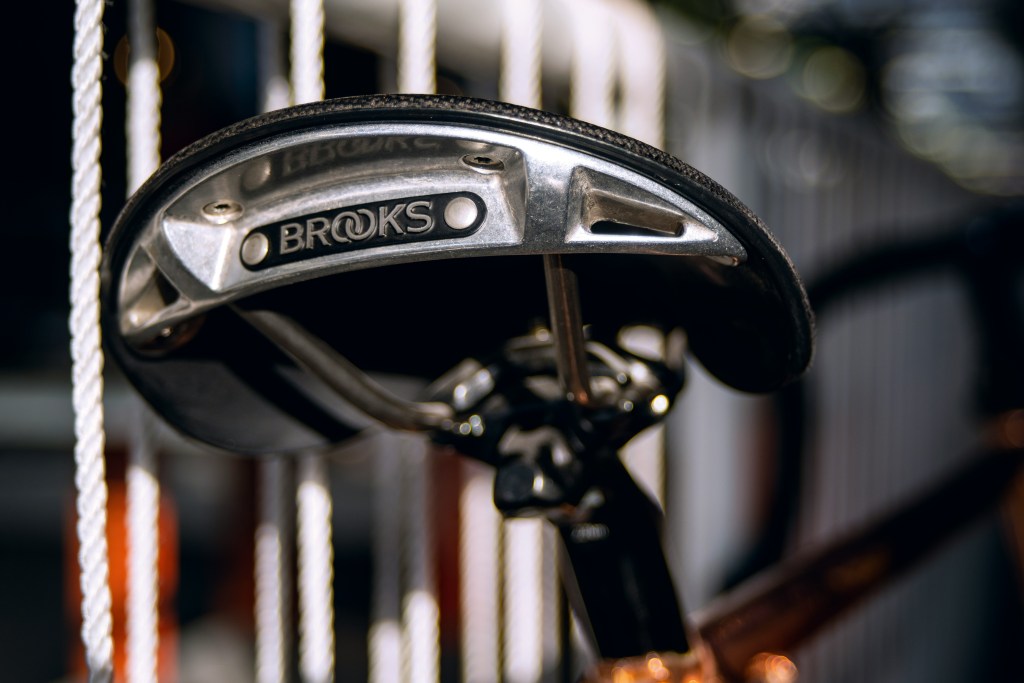
A loose or ill-adjusted saddle can be the source of many problems. For one thing, it will definitely keep you from riding efficiently and optimally. That’s not to mention the effects a bad saddle setup can have on your cycling and your body.
If you are having any kind of pain or discomfort as a result of being on your bike for an extended period, it could be a loose or incorrectly adjusted saddle. Slightly loose is mostly a quick fix but don’t ignore it because that looseness can become full-blown if left uncorrected. An unset saddle can throw off the overall fit of your bike.
How often to check your saddle: Checking your saddle’s setup and installation requires no time unless there is a problem, so give it a quick check before every ride. Try to move it left, right, forward, and back. No response to those movements is what you want.
Last Thoughts
Checking all the items mentioned in this post before you head out on a ride might save you some frustration or even needing to get a lift home. Check these elements the night before you ride when it is also a good time to lubricate your chain (if it needs it).
And while these are mostly quick checks followed with quick adjustments, don’t rush through them. And if you need to put the bike in a workstand to achieve an adjustment, do it there. Whatever the adjustment, it will be much easier to accomplish with your bike off the floor. And you can feel safer if you make some or all these checks before every ride.


