
While understated but completely obvious, keeping hydrated while on a bike ride is important. It can mean the simple difference between completing it and not finishing, especially on a summer day in the mid-90s.
Short of wearing something like a water bladder (i.e., a Camelbak) or bringing cash with you to buy drinks every half hour to an hour while on your ride, most road cyclists choose to bring a bottle or two with them on a ride that’s full of water or sports drink. Of course, those bottles would be awkward and heavy to carry, so that is why bottle cages are ride essentials.
What are Bottle Cages?
Bottle cages are made of plastic, aluminum, carbon, or other materials. They are made to firmly hold a 12 to 16 ounce bottle. They can be attached to the downtube or seat tube of a bike (sometimes both if you want to carry two bottles with you). There are also bottle cages that will attach to the rails of your saddle.
Most importantly, bottle cages allow cyclists to bring their favorite drink of choice with them. Ideally, you want to be taking in some fluids regularly during the course of a ride (specifically, one bottle gone after your first hour of riding). I have an alarm on my Garmin that alerts me to drink. So, if you’re going out for more than an hour, riding with two water bottle cages isn’t a bad idea.
How to Choose a Bottle Cage
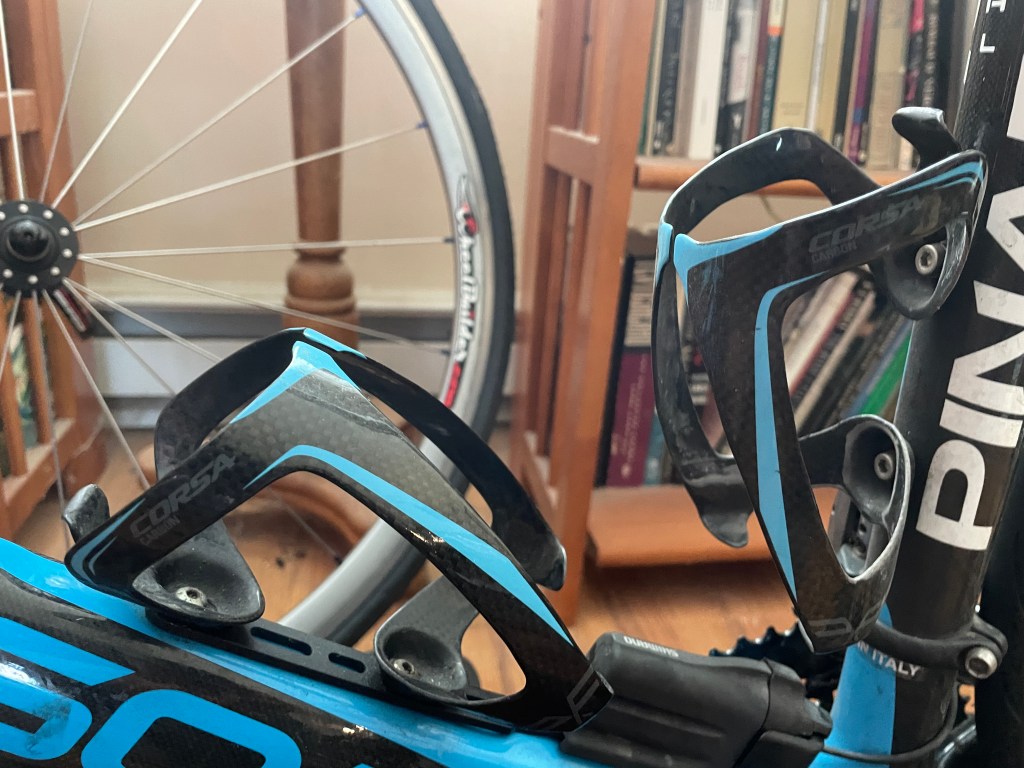
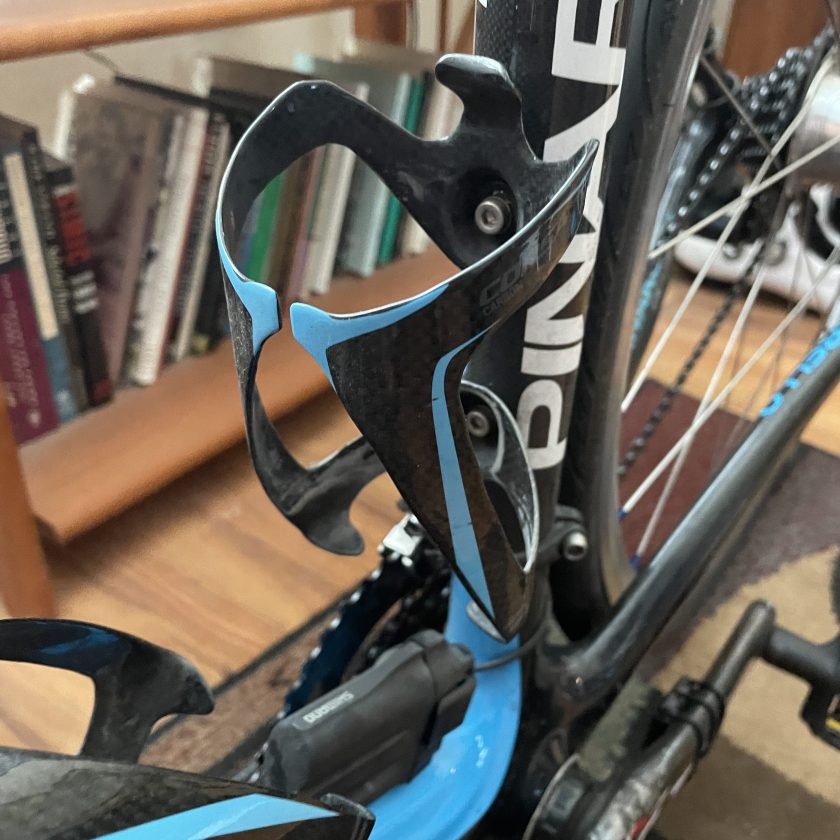
Many cyclists don’t care about what a bottle cage is made of or what it looks like. Others, myself included, go for cages that match their bike frames. I was lucky in that I found two cages that were carbon and matched the colors of my carbon bike.
Whether you buy the cheapest cage you can find or splurge on something made of carbon, titanium, or some other material, functionality is the most important thing. Make sure the cage will grasp your bottle firmly but not so tight it will be difficult to get the bottle out or put it back when you’re done drinking. The thing to avoid is the bottle popping out of its cage when you hit a rough section of road.
Bottle cages come at all price points from $5 to $6 bucks all the way up to $20 bucks or more. Remember, functionality is key. So, if you are buying your cage at a bike shop, bring a full water bottle with you, insert it in the cage, and then shake to see if the bottle pops out.
Installing Bottle Cages
Most bikes have pre-drilled mounts with hardware for bottle cages. It is pretty much a 5-minute job to mount a bottle cage. I would just recommend to make sure those screws are tight. Otherwise, the weight of the bottles and the vibration from your bike will cause your cages over time to loosen.
You’ll need a 5 mm hex key to install the screws. However, if you’re worried about wrenching on those screws too tightly, you can always use some Loc-tite to create a solid bond.
Last Thoughts
Whether you choose bottle cages made of aluminum or you’re a “weight weenie” and choose carbon or titanium, they are ride essentials. You want your bottles to be held secure but also easy to retrieve.
Fortunately, bottle cages don’t really require a lot of thought or preparation to install. So, find the one you want, install it well, and you won’t ever have to think about it again.


